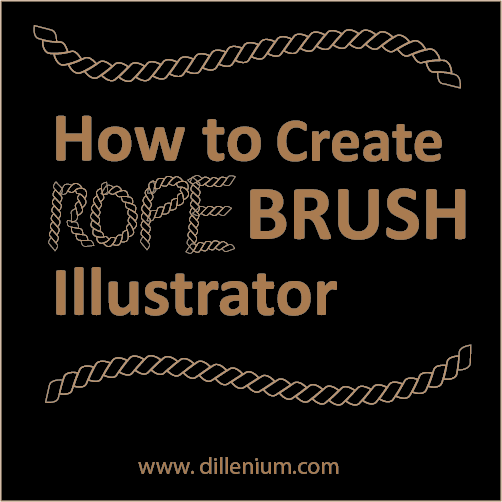
If you are looking how to create rope brush illustrator then here in this post you can watch step by step process. Rope illustrator tutorial will guide you in a simple way to design rope brush that you can use for multiple purposes of designing.
Rope brushes can be designed in a variety of ways. If you are learning illustrator or the way to design ropes then you can start with a basic rope design. In this way, you will get design concept and later you can apply some diverse technique to create other types of rope design.
This rope brush designed in Adobe Illustrator CS6. 100% vector rope design that you can easily use for web and print creatives.
Watch Illustrator Tutorial – Create Rope Brush Illustrator
Watch time: 9:16
Download Project File: Click Here…
Step by Step Points to Follow Manually
Steps to Create Rope Shape
- Using shape tool, create a simple ellipse in oval style.
- Click on pen tool, choose Convert Anchor Point tool or press Shift C from the keyboard.
- Click on middle first anchor point of oval and middle last anchor point. It will convert into sharp pointed edges.
- Now intact direct selection tool or press ‘A’ from the keyboard.
- Click on first pointed anchor point at the top of the oval and drag it to the right side.
- In the same way, click on last anchor point of middle last anchor point and drag it to the left side.
- Now click on the left middle anchor point and move it upside using upward arrow key.
- Now move the right middle anchor point and move it down.
- It will form a shape of a rope. Now go to Object – Path – Offset Path and create another rope shape. (Watch the video if you are not sure about the steps.
- Now using PathFinder – Subtract the background and add color to rope shape.
Make a Rope Chain
- Now move the rope shape that we created with some angle on the right side.
- Create a copy of angular rope shape and paste in the same place and move it to the left side.
- It will create a rope structure in chain format.
- Create a rectangle using shape tool
- Keep the rectangle in middle and make it invisible like keep the fill and stroke color to ‘off’.
- Now select each and everything and create a brush.
Add the Rope Structure to Brush Section
- Keep everything selected and press F5 to open Brush panel. Or, explore it from Window – Brushes.
- Drag the selection to Brushes panel and create the Pattern brush.
- Name the rope pattern. Use the Method Tints and Shades.
- Press Ok.
Design Rope Brush Pattern
- Create a circle and select the rope brush from Brush panel.
- Drag a circle and you will get rope brush illustrator design.
- You can use in a different way like using PaintBrush tool and design it as you like :-)
So this is the simple way to design Rope brush illustrator. For a quick view, watch illustrator tutorial to save time.
All the best!!
Illustrator Tutorials Might be Helpful for you:
- Golden Ration Logo # 2 – Floral Design
- Create Smoke Vector Effects in Illustrator
- How to Create Chalkboard Background in Adobe Illustrator
- How to Create Neon Glowing Light Effect
- iPhone x Vector Template – Mockup


Leave A Comment