Follow step by step to make watercolor printable wedding invitations in Adobe Illustrator. Video tutorial is linked to see all the steps from start. This tutorial will facilitate you to learn basic steps from start to end to design wedding invitations. You can use your creativity to add more embellishments as per your invitation requirements. Here, I created ‘save the date’ invitation.
In this Adobe Illustrator tutorial, I designed professional watercolor printable wedding invitation template that you can easily use to print in the same way. We all need professional printable invitations on different occasions of life so it’s better to design it yourself just by following the few steps and save your design cost. My objective to do this illustrator video tutorial to guide about the basic steps from start to end to design this elegant Save the date invitation that you can use in a variety of ways. You can easily change the content and design with your creatives.
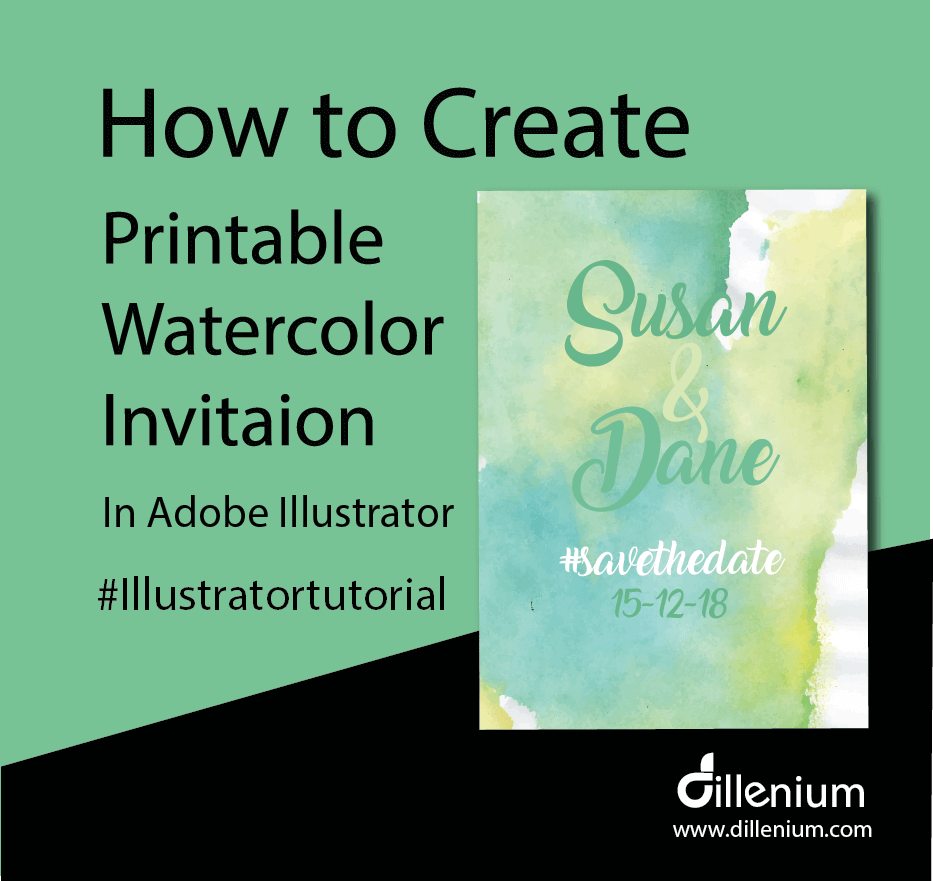
Follow Steps by Step to Make Watercolor Printable Invitation
Adobe Illustrator is the great tool to design professional graphics especially the vector ones. I love to design graphics using Illustrator. It’s simple, easy, editable and user-friendly so follow the steps with me and design your graphics in your own way. You can also download the invitation file. (link available at the end of this article).
So let’s get started!
Step 1: Define your printable invitation Artboard settings
- Create New document and use the width 5×7″ (standard size of invitation card)
- Keep the orientation to Portrait
- Use CMYK (recommended for print) and resolution to 300 PPI
- Bleed is 0.125″ (standard bleed size). Check your printer bleed requirement to go with this.
Step 2: Set your Artboard
- Press control R to intact rulers
- Now define guides on top, left, bottom and right to work in proper order. You can watch the process in the video to get the complete idea to place guides within artboard.
Step 3: Start Designing
- Go to File – Place Image file of watercolor background (You can find the image in download link). If you are using your image or watercolor background then make sure it needs to be high resolution and color mode should be CMYK.
- Resize the background image according to the size of your artboard. Make sure everything aligned properly with bleed lines.
- Strat writing invitation text using Type tool. To invoke the layer type T from the keyboard on PC.
- Now choose the font from font list. I used Amarillo that you can download from the download link below. Or follow the post where I wrote about best wedding fonts.
- Write complete text with proper formatting
- Conver text to outline.
Step 4) Save Print Ready PDF File
- Go to file and choose Save as PDF option
- Now choose High-Quality print in Adobe PDF preset
- In Marks and Bleed setting, mark checks on Trim and Use document bleed option
- Click Save
Now you are done! You have created a professional printable watercolor invitation template. You can take it to print to professional printing service.
Here is the video tutorial that you can watch to design professional and print-ready invitations just in few minutes.
How to Create Printable Watercolor Invitations in Illustrator
Download Project File: Click here!

Articles might be helpful for you:
- How to Design Folded Letters Logo Design in Illustrator
- Design Wedding Invitation in Adobe Illustrator
- Download Free Best Wedding Fonts for Wedding Invitation
- Wedding Planning WordPress Theme to Mark Your Day
- Download Free Elegant Wedding Fonts
- 10+ Inspirational Wedding Website Ideas
- How to Design Initials Logo Design in Adobe Illustrator
- 6+ Logo File Formats You Need to Ask from Your Logo Design Company
Leave A Comment